Lesson 4
Calcolo numerico per la generazione di immagini fotorealistiche
Maurizio Tomasi maurizio.tomasi@unimi.it
Tone mapping

Tone mapping
- Converting from RGB to sRGB should preserve the overall «hue» of an image.
- This is why we don’t talk about tone mapping for a single RGB color, but for a matrix of colors (i.e., an image).
- We will use the tone mapping described by Shirley & Morley (2003): it is physically less accurate than methods based on colorimetric standards (e.g., CIE XYZ tristimulus mapping with a D65 white point), but more intuitive and easier to implement.
Tone Mapping Algorithm
- Establish an «average» value for the irradiance measured at each pixel of the image;
- Normalize the color of each pixel to this average value;
- Apply a correction to the brightest spots.
The Weber-Fechner law
To establish a plausible “average value” for the radiance coming from a scene, we must rely on psychophysics, the branch of psychology that deals with the relationship between a physical stimulus and the correlated psychological event
Weber and Fechner established that the eye’s response to a stimulus S is logarithmic (Weber-Fechner law): p = k \log_{10} \frac{S}{S_0} where p is the perceived value, and S is the intensity of the stimulus.
The Logarithmic Average
- The «neutral» value for radiance is defined by the logarithmic average of the pixel luminosity l_i (with i = 1\ldots N): \left<l\right> = 10^{\frac{\sum_i \log_{10}(\delta + l_i)}N},
- The parameter \delta \ll 1 prevents the singularity of \log_{10} x at x = 0.
The Logarithmic Average
The logarithmic average is an average of the exponents, while the arithmetic average is an average of the values; if the values are 10^2, 10^4 and 10^6, the logarithmic average is 10^{\frac{\log_{10} 10^2 + \log_{10} 10^4 + \log_{10} 10^6}3} = 10^4,
As a comparison, the arithmetic average is (10^2 + 10^4 + 10^6)/3 \approx 10^6/3.
Luminosity
We have three scalar values (RGB) for each pixel. Which one should we use for l_i?
- Arithmetic Mean
- l_i = \frac{R_i + G_i + B_i}3;
- Weighted Average
- l_i = \frac{w_R R_i + w_G G_i + w_B B_i}{w_R + w_G + w_B}, which is what is done in the ITU-R BT.709 standard;
- Distance from the Origin
- l_i = \sqrt{R_i^2 + G_i^2 + B_i^2};
- Luminosity Function
- l_i = \frac{\max(R_i, G_i, B_i) + \min(R_i, G_i, B_i)}2
We will use the latter: it is not physically meaningful but produces good results.
Normalization
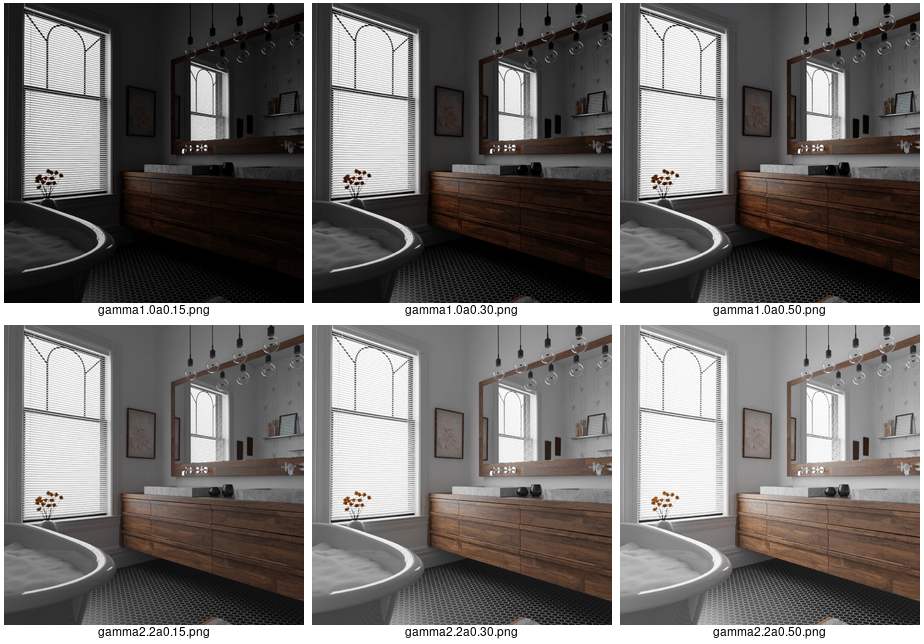
Once the average value is estimated, the R, G, B values of the image are updated through the transformation
R_i \rightarrow a \times \frac{R_i}{\left<l\right>},
where a is a user-settable value.
Curiously, in their book Shirley & Morley suggest a = 0.18; however, there is no “right” value, as a must be chosen depending on the image.
Bright Spots

These are notoriously difficult to handle!
Bright Spots
Shirley & Morley suggest applying the following transformation to the R, G, B components of each pixel: R_i \rightarrow \frac{R_i}{1 + R_i}. The equation has these properties: \begin{aligned} R_i \ll 1 &\Rightarrow R_i \rightarrow R_i,\\ R_i \gg 1 &\Rightarrow R_i \rightarrow 1. \end{aligned}
Bright Spots

Overall effect
- We must put the bright spot correction after normalization
- The final equation is thus R'_i = \frac{a \times \frac{R_i}{\left<l\right>}}{1 + a \times \frac{R_i}{\left<l\right>}}
- In our code, we will however keep the two transformations in separate functions and will apply them one after another, so there is no need to implement the whole equation in the same place. (It is easier to test!)
γ correction
We might want to apply a gamma correction to the image values.
If for a signal x the monitor emits a flux
\Phi \propto x^\gamma,
then the RGB values to be stored in the LDR image must be
r = \left[2^8\times R^{1/\gamma}\right],\quad g = \left[2^8\times G^{1/\gamma}\right],\quad b = \left[2^8\times B^{1/\gamma}\right],
Documentation
Comments to avoid
Comments, however, should not be pedantic: it is not necessary to comment on obvious things while failing to comment on the important parts!
If you feel the need to put a lot of comments in a function to make it clear, perhaps the function is not written well.
Docstrings
Modern IDEs are able to read comments placed at the beginning of classes/methods/functions/types, and display them in certain contexts (for example, when you hover the mouse over a function call).
Get used to relying on this feature: it encourages better commenting habits and reduces the need to constantly navigate back to the function definition.
Usually, to declare a docstring, you must start a comment with a special character or string, for example:
The README File
- When publishing a project on GitHub, it is essential to include a
README:
- The amount of FOSS (Free and Open Source Software) on the Internet is impressive;
- Users need to understand quickly whether a project is right for them or not;
- A README serves as both a showcase and an introductory manual.
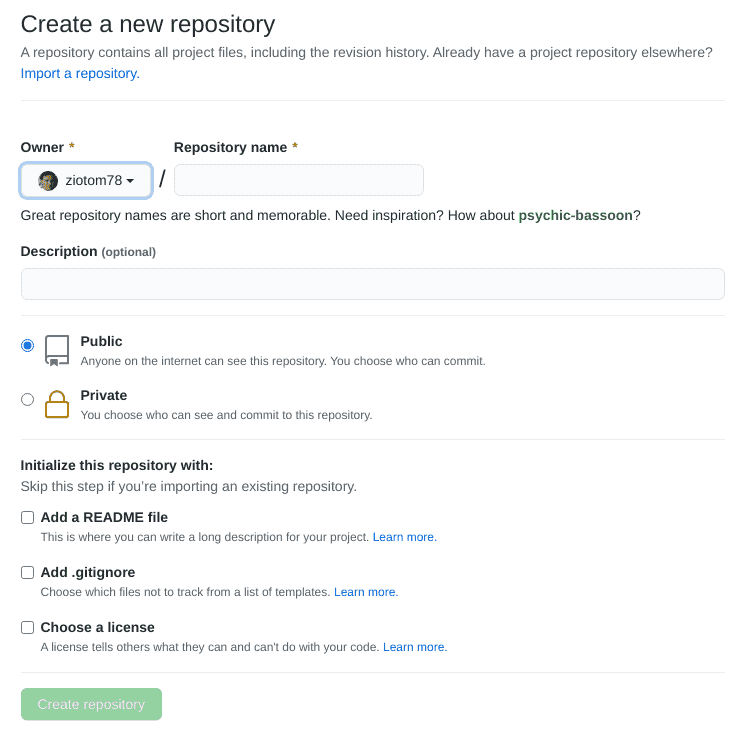
- It is therefore essential to have a
READMEin your repositories. - In fact, when you create a new repository on GitHub, you are prompted to generate one automatically!
Purpose of the README
- It’s the first document a potential user encounters.
- It must concisely communicate these concepts:
- What the program is for;
- What it requires to work (Windows? Linux? a GPU? a printer?);
- How to install it;
- Practical examples showing what the program can do (possibly more than one: starting from simple cases and synthetically showing at least one realistic case); for scientific codes, it is great to include plots/diagrams/…!
- License.
- It shouldn’t go into too much detail.
Try to be clear but also concise!
Negative example (
boost.array). The introduction begins like this:The C++ Standard Template Library STL as part of the C++ Standard Library provides a framework for processing algorithms on different kind of containers. However, ordinary arrays don’t provide the interface of STL containers (although, they provide the iterator interface of STL containers).
A whole paragraph, and it still doesn’t say what the library does! (It’s not even mentioned in the next paragraph…)
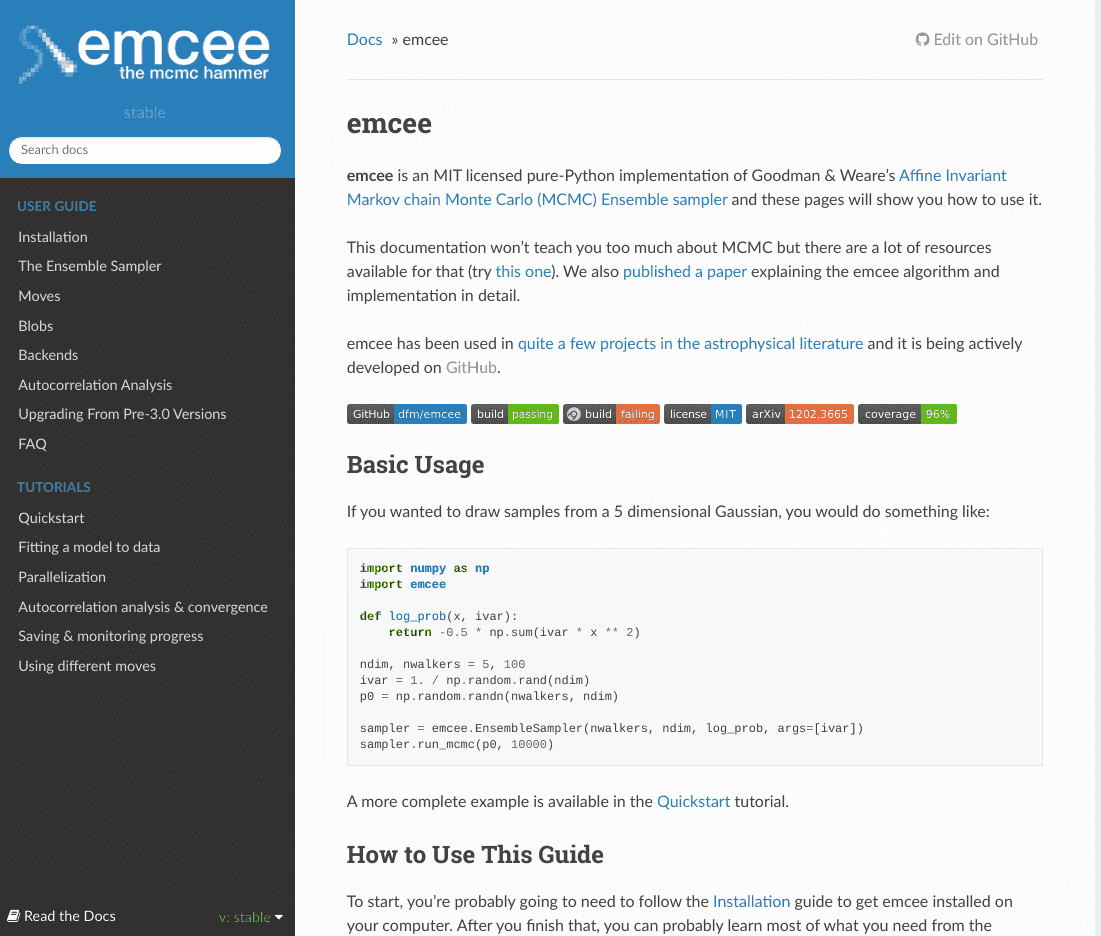
Example: emcee
Structure of a README
- Recommended structure from the Make a README website:
- Name and description;
- Usage examples;
- Installation instructions;
- How to contribute to the repository;
- License.
- The Awesome README website is a goldmine of suggestions and links to real-world project READMEs to imitate.
How to write documentation?
Writing text
- In the past, READMEs and user manuals were simple text files.
- However, we have seen that READMEs used today include graphics, highlighted code, titles, etc. (The same applies to user manuals!)
- Should we resort to LaTeX?
Markup languages
- No need to worry: there are alternatives to LaTeX for these tasks
- Over the years, a series of markup languages have emerged that allow
you to easily write structured text:
- Markdown
(
.mdextension, e.g.,README.md); - reStructuredText
(
.rstextension), widely used in the Python world; - Asciidoc
(
.adocor.txtextension); - Org-mode
(
.orgextension: my favourite; however, it is primarily tailored for Emacs); - etc.
- Markdown
(
- The most widely used is undoubtedly Markdown.
Markdown
Markdown is the industry standard for software documentation (it’s the default choice on GitHub).
The standard tool for Markdown is pandoc, which can convert
.mdfiles into:- HTML pages (these slides, made with Reveal.js, are an example!);
- LaTeX, including Beamer (ctan.org/pkg/beamer);
- Microsoft Word files;
- Ebooks in
.epubformat; - Etc.
Pandoc implements an extended version of Markdown, and supports equations like \int x^2\,\mathrm{d}x and Unicode characters (UTF-8).
Markdown Example
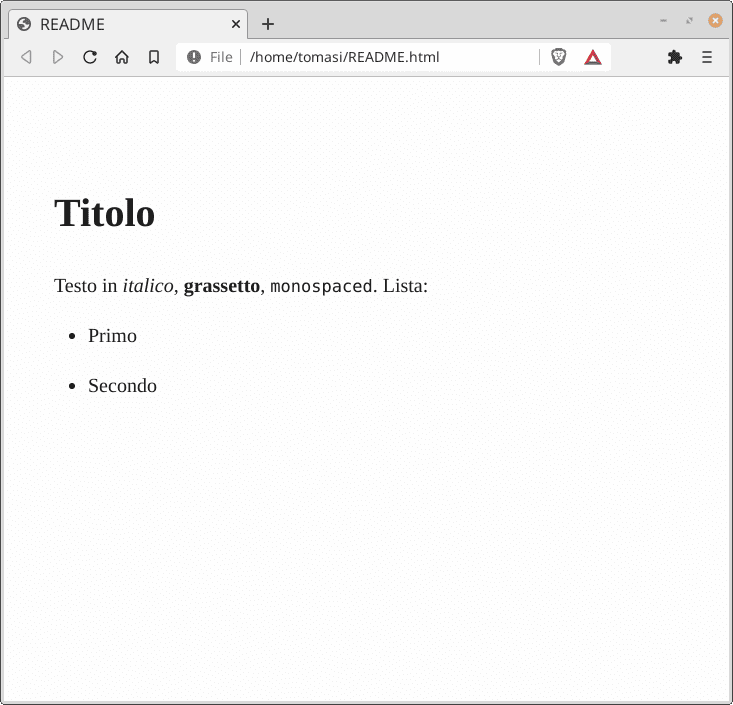
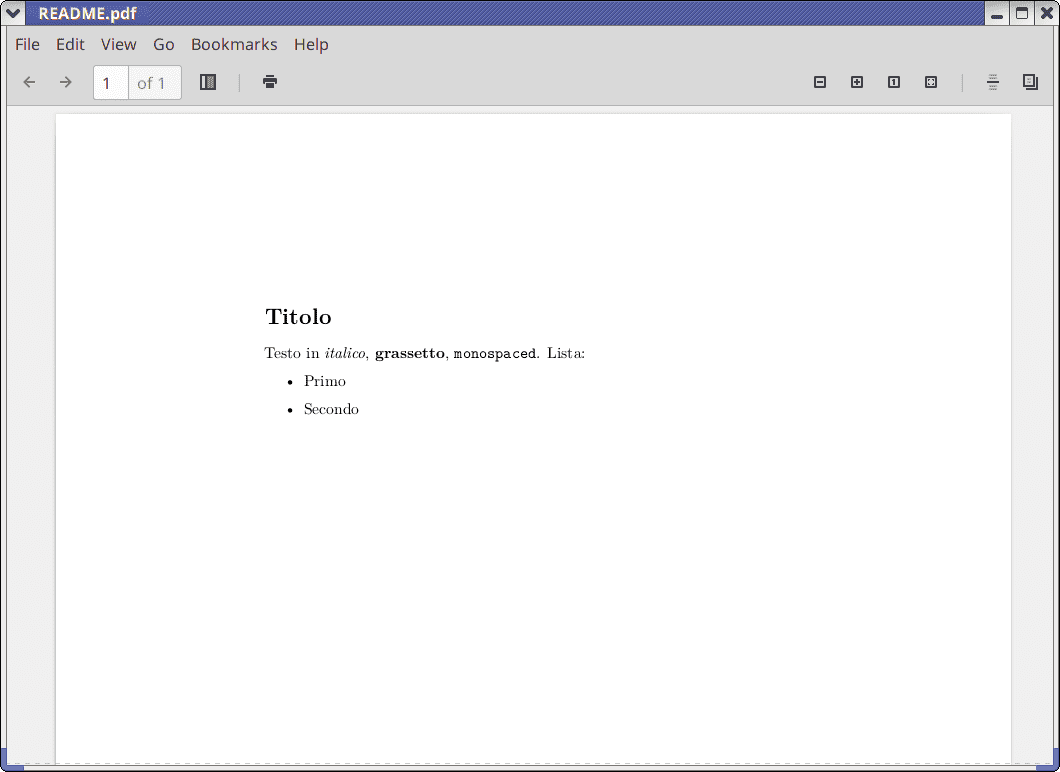
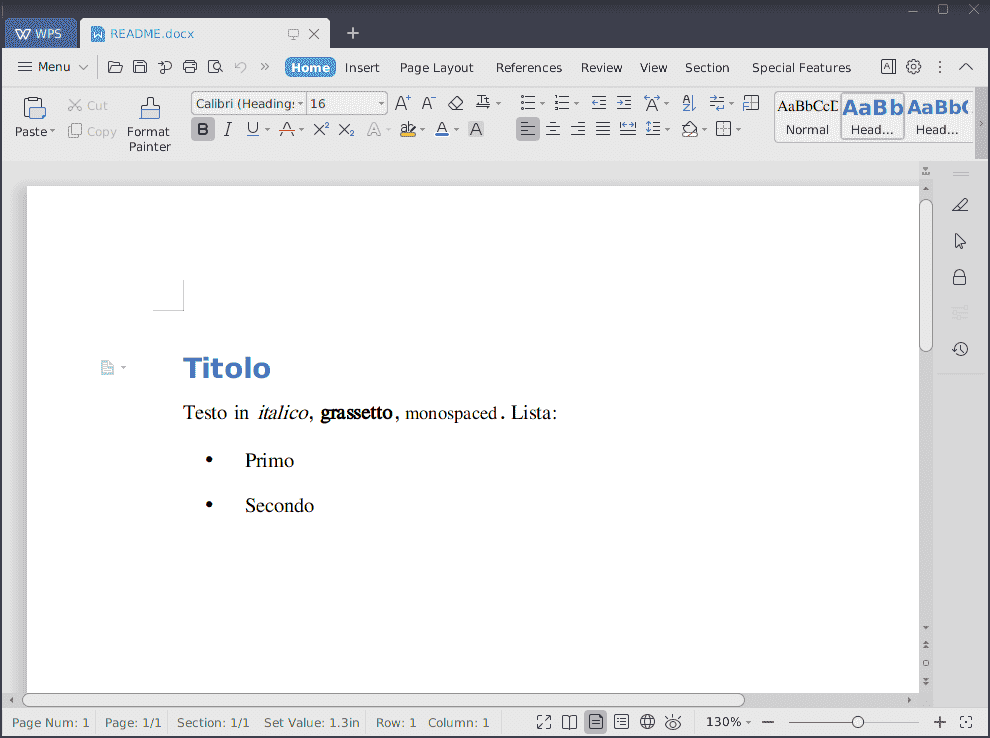
If you have installed Pandoc, create a file
README.mdwith this content:Convert it to an HTML/Word/LaTeX file with
$ pandoc -t html5 --standalone -o README.html README.md
$ pandoc -t docx  --standalone -o README.docx README.md
$ pandoc -t latex --standalone -o README.tex  --pdf-engine=lualatex  README.md
Markdown in GitHub (1/2)
In GitHub, you don’t need to convert Markdown files like
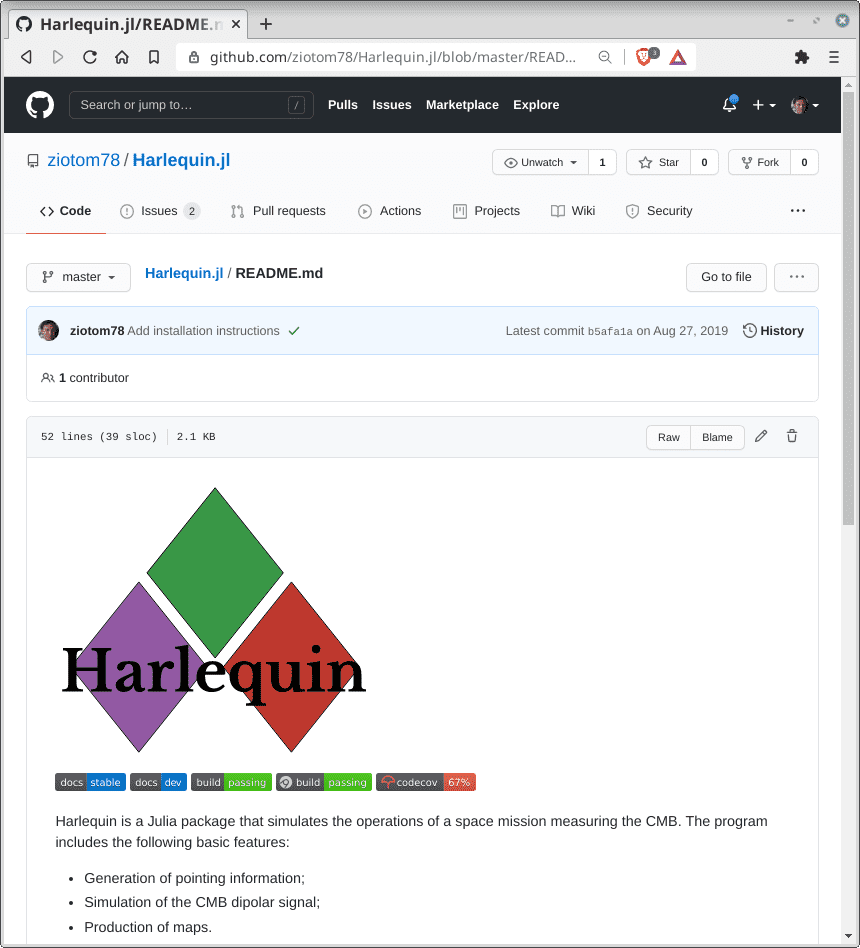
README.mdwithpandocbecause it implements an internal HTML converter.If you upload a file named
README.mdto a repository, GitHub will automatically display it on the main page:![]()
Markdown in GitHub (2/2)
GitHub interprets Markdown slightly differently from Pandoc: consult the GitHub Flavored Markdown Spec guide.
In particular, you cannot use line breaks within a paragraph: in the following text, the poem is rendered by GitHub with each verse on its own line:
Voi, che sapete che cosa è amor,
Donne vedete, s'io l'ho nel cor.
Quello ch'io provo vi ridirò;
è per me nuovo, capir nol so.
(
pandocwould instead transform it into a single paragraph).You can write LaTeX formulae within
$…$
Other tools
- Quarto builds on Pandoc to produce complex documents (papers, books, technical manuals…)
- Typst is a modern alternative to LaTeX. It is much faster than LaTeX (being written in Rust and using saner and simpler defaults!) and is superb to produce scientific documents, although its usage is not widespread
Can we use LLMs?
- Large Language Models (LLMs) are the Big New Thing™!
- Neural networks trained on massive text datasets to generate text, translate, answer questions…
- They only recognize statistical patterns: no true understanding!
- Very good for text manipulation and structuring, but remember that you must be responsible for the content, while they assist with the structure!

See also Papers and peer reviews with evidence of ChatGPT writing.
README Creation with LLMs
- You can use them to produce a nice
README: you can provide a rough draft and ask the LLM to refine it - LLMs can:
- Format existing text
- Generate boilerplate sections
- Improve clarity and consistency
- Do “rubber duck debugging”: if they do not understand your text, perhaps it is not clear enough
- Caution: Don’t rely solely on LLM for technical details
Pro tip
You can provide instructions about how to fix some text:
[Instructions]
<Write here how you want the LLM to work on the text>

[Text]
<The actual text>
(Use Shift+Enter to enter a new line in the LLM prompt.)
Writing good instructions is called prompt engineering, and it is a kind of black art.
Example
[Instructions]
I am a PhD student and am preparing a presentation to show the results of my work. You are an expert in creating concise conference slides using Markdown. I will provide you with a description of my PhD research, including the problem statement, methodology, results, and conclusions.

Your task is to generate a set of 5-7 slides in Markdown format suitable for a 10-minute conference presentation. Each slide should focus on a key aspect of my research. Please:

-    Use clear and concise bullet points.
-    Highlight key findings and contributions.
-    Format equations using LaTeX within `$$` delimiters where applicable.
-    Include a 'Summary' or 'Conclusions' slide.
-    Prioritize visual clarity and readability.

[Text]
<The description of your own research>
Using LLMs for READMEs
Provide existing project information: usage examples, installation steps…
Ask for specific formatting: Markdown, code block formatting, tables…
Example of a good question:
What does this README lacks to be understandable for a user who has never used ray-tracing programs?
Iterative process: review and refine its output, as human expertise is crucial!
LLM as a tool, not a replacement
Additional resources
Good LLMs:
- OpenAI ChatGPT: the most famous, but not necessarily the best
- Google Gemini: similar to ChatGPT, but with a more generous free plan
- DeepSeek: promising Chinese alternative, more environment-friendly
To learn how to use LLMs, look for Grant Sanderson’s videos (3Blue1Brown):
Software Licenses
The Case of GitHub
When you registered on GitHub, you had to agree to its Terms of service.
How many of you have read them? 👀
Do you know what the average user could do with the code you published on GitHub for this course?
GitHub’s terms of service
Regardless of publishing on GitHub, you retain ownership of your code.
But you obviously give GitHub the right to keep a copy of the code on their server (in legal terms it’s called “content,” because it also includes other types of files, such as images and Markdown text).
You also give GitHub permission to display your content, and to allow users to download it.
However, you do not automatically grant users the right to compile, modify, or run your code (but, had you the right to run it, you should then be able to use these results in a publication)
Software Licenses
- A “software license” explains to the users who downloaded a program what they are allowed to do and what they are not.
- It has always been used in commercial software.
- It has become increasingly important also in academia:
- Some institutions require it (but not UniMI);
- It can protect the author from unpleasant surprises.
- In FOSS programs, licenses are usually written in a
LICENSE,LICENSE.txt, orLICENSE.mdfile (in Markdown). - An excellent explanation is present in the article A Quick Guide to Software Licensing for the Scientist-Programmer (Morin, Urban & Sliz, 2012).
Does it matter to a physicist?
A lot of code is written in the research world.
The main purpose is to perform simulations and analyses, which are then described in an article.
It is important that the results are reproducible: a reader should be able to run the same program used by the authors and obtain the same results.
Distributing the source code alongside the program is essential for peer verification and scientific integrity.
A license establishes the rights of the program’s creator and the rights of the user, and is therefore very important for physicists too!
Does it matter to the user?
Suppose you are doing a job that requires a certain type of program/library.
You have found a program/library on the internet that seems to be just what you need.
Before using it, however, you must answer the following questions:
- Do I have permission to download it?
- Do I have permission to compile it?
- Do I have permission to run it?
- Do I have permission to publish the results I obtained with this program?
Your repositories
From the way I asked you to create your repositories, I suspect most of your repositories currently lack a
LICENSEorLICENSE.mdfile.This is a text file that specifies the user’s rights: if this file does not exist in the repository, the user is not authorized to compile your code, nor to run it, etc. You must give your explicit consent!
If you are not an expert in legal matters, it is best that you do not write this file yourself. (Otherwise, you could write abominations!)
There are many types of ready-to-use licenses, and
LICENSEfiles are usually produced by copy-and-paste. So let’s see which licenses can be used in your work.
Types of licenses
- Proprietary
- These are used for programs like Microsoft Word, Apple Mac OS X, Adobe Photoshop, etc. They are also found in academia.
- Permissive
- These are the most used licenses in academia: basically, they say that you can do almost anything with the program.
- Copyleft
- This is a license widely used in the FOSS world, and there are cases where it is mandatory even in academia.
Proprietary licenses
A list of what the user can do; what is not listed is implicitly excluded.
They do not always allow the user to obtain a copy of the source code; when this is provided, it is usually only for reading and verification.
It is a type of license used in academia (e.g., in faculties closely linked to industry, such as engineering), although not very common in physics.
Permissive Licenses
This is a family of licenses that provides maximum freedom to the user.
The most famous types are:
- MIT (used by Julia and dotnet);
- BSD;
- Apache License (used by Kotlin and clang);
- Academic Free License.
The user can acquire the source code, compile it, run it, etc.
In general, these licenses state what is prohibited, and anything not listed is implicitly permitted.
Using Permissive Licenses
The user is not prohibited from modifying the code and redistributing it…
…and the user is not prohibited from incorporating the code into their program, which is then released under a proprietary license.
The only explicit requirement is that the code attribution be maintained: I cannot take someone else’s code and publish it claiming it as my own.
Copyleft Licenses
This is a type of Permissive License that, however, places important restrictions on how the code is redistributed.
If code under a copyleft license is used within another codebase, the latter must also be released under a copyleft license (but it is not mandatory to release it!).
The most famous example is the GNU Public License, used for Linux, Emacs, Bash, and your beloved GCC. It is called a viral license: if a program “touches” copyleft code, it automatically becomes copyleft itself, even if it merely links to it. (This viral nature is often a point of contention!)
European Union Public License (EUPL)
EUPL 1.2 is the official open-source license of the European Union
It is specifically designed to comply with EU law (unlike parts of the GPL).
It is a copyleft license, but in a “smart” way: if you modify the code, you must share your changes under the same license, but you can link your program to a EUPL library without being forced to change your own license.
It is the recommended license for public institutions in Italy (mandatory in Spain!)
Which License to Use?
If you want maximum freedom and citations, use MIT
If you want that people share their improvements, use the EUPL or the GPL
If you want to avoid legal headaches, use the EUPL (safest choice)
When using external libraries, be careful:
If your code uses a copyleft license, you must verify its compatibility with that of the library;
If your code uses a permissive license, in general, you cannot use libraries with a copyleft license unless you change your license.
TLDRLegal and Choose an open source license can help you.
How to “Use” a License?
The Open Source Initiative website provides a template for various licenses, and the EU provides an interactive way to pick one of them!
To apply a license to your code, you must take the following steps:
- Choose the license. We take the EUPL 1.2 as an example (see OSI).
- https://license.md provides the text of various open-source licenses. For instance, here is the text of the EUPL 1.2
- Save the license text in the file
LICENSE(if it is in ASCII format) orLICENSE.md(if it is in Markdown) inside your repository. - Most licenses recommend including a short text in a comment at the top of every source file in your repository.
Beyond the LICENSE.md File
It is common practice to also include a copy of the full license in a comment at the beginning of each source file: this way, anyone who copies a file from a repository into their own code “brings” the license with them.
However, it is not necessary (I never do it…) and can make the source files much longer; I prefer to insert the banner of the project and a short message: This file is released under a … license. See LICENSE.md.
There are more structured methods for reporting the license type in the code. One example is SPDX, a standard also followed by the Linux kernel, which allows license information to be processed automatically (e.g., by a script).
Example
/*               ███
* ████           ██                  █
 *  ██            ██                 ██
 *  ██     ████   ████   ███   ████ ████  ███  ███ █
 *  ██    ██ ███  ██ ██ ██ ██ ███    ██  ██ ██  ████
 *  ██    ██  ██  ██ ██ █████  ███   ██  █████  ██
 *  ██  █ ███ ██  ██ ██ ██      ███  ██  ██     ██
 * ██████  ████   ████   ████ ████    ██  ████ ████
 *
 * Reflector antenna simulation code
 *
 * Licensed under the European Union Public License (EUPL) 1.2.
 * See the file LICENSE.txt
 *
 * Copyright (c) 2025 Maurizio Tomasi
 */
You can create banners like this using Figlet or Toilet. I created mine with
Comments in code
We all know the importance of writing comments in the code!
A comment helps those reading the code understand what that code does.
It can help you too! If you read the code you wrote today in a year, are you sure you will remember why you wrote it that way?